Home > Projects Made Easy > Painting Inside & Out
Painting Inside & Out
Are you ready to brighten up your world with a new hue? Elliott's is here to help. Let's start off on the right foot and prep right so all your hard work pays off.
Elliott's offers premium interior and exterior paints from Benjamin Moore. Let us help you find the perfect paint, then follow these steps for success.

Prep Like a Pro
- Remember to wear safety goggles and older clothes in case the paint splatters.
- Make sure the area you're painting is properly ventilated.
- To protect your house, move any excess furniture out of the room and cover both the floor and remaining furniture with drop cloths.
- Tape off any areas you won't want to paint with painters tape. We suggest lines around the trim and any wall sconces.
- Dust and clean the walls using a towel or a vacuum cleaner and then scrape away any cracked or flaking paint with a scraper or sandpaper.
Elliott's Tip: If you're painting a bathroom or kitchen, you should wash the walls with a solution of 3 teaspoons of laundry detergent to one gallon of water. This helps remove grease or soap scum.
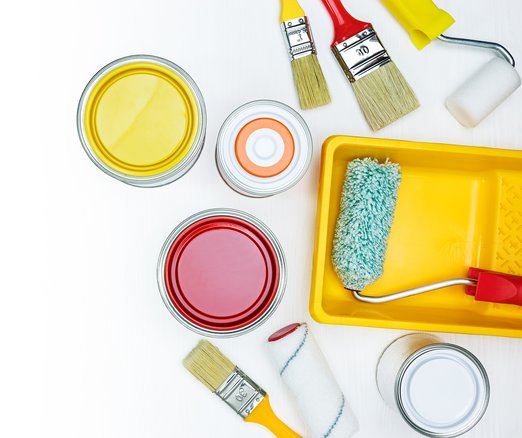
Don't forget your supplies! Make sure you have stopped at your local Elliott's and picked up these key essentials:
Painters Tape
Primer
Paint Can Opener
Drop Cloths
Stir Sticks
Roller Covers
Paint Brushes (different brushes for latex paint and oil-based paint)
Paint Tray
Gloves
Roller Extension Pole
Rags
Sponges
Ladder or Step Stool

Primer's Prime Time
A high quality primer will help hide any small imperfections on walls. If you have new drywall, a good water-based primer is necessary. For walls that have heavy stains from water or smoke damage, an oil-based primer is the way to go.
Elliott's Tip: Consider tinting your primer using a bit of your base color. It enhances the ability of the topcoat to completely hide the primed surface.
Top Tips to D-I-Y
With a small brush, apply the paint around trim and corners of walls where your larger brush or roller can't reach.
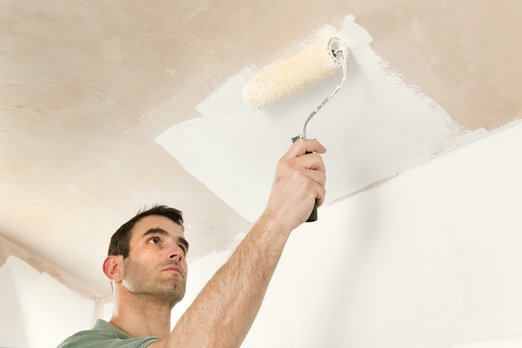
Try using a "W" pattern to paint walls. Start in the corner of a wall and roll on a three-by-three foot "W" and then fill it without lifting the roller. Repeat until the section is finished. This helps hide any seams and any places where the roller has been lifted and put back on the wall again.
The same color of paint can vary between cans. To ensure color consistency from start to finish, the pros mix their cans of paint in a 5 gallon bucket, a process called "boxing".
Wash your roller covers! Washing them before their first use gets rid of the fuzz that comes off once you start painting. Wash with water and a little bit of liquid soap and run your hands over the covers to pull off any loose fibers. You can start using the roller covers right away – no need to let them dry!

Try some fun painting effects:
- Try color washing for an old world or country feel! Start with your satin base coat and then paint over it with a large brush in a "X" pattern with a glaze paint mixture.
- There are a lot of fun stencils you can try when you want to create a repeated pattern, but don't trust your freehand artistic abilities. Chevron and stripes are very in-style right now.
- Linen Weaving creates a fine vertical stripe by brushing through a glaze coat applied over a satin latex base coat
- Rag Rolling is another way to add some texture. Paint your walls with your base color. Once it's dry use a crumpled rag to apply a darker or lighter glaze color mixture, rolling it over the wall in random directions.
- Sponging also works well with many deorating styles. Once your base coat is dry, use a sea sponge or sponge roller to dab your desired top color in random patterns.
It's a Wrap: Paint Brush 101
If you're done painting for the day but still have more to do tomorrow, you don't have to go through the tedious process of cleaning your paintbrushes and paint-roller sleeves. Instead, simply brush or roll off the excess paint, then tightly wrap them in plastic food wrap. If necessary, double up the plastic to seal out any air, then place the wrapped brushes and roller sleeves in the refrigerator to keep them fresh. It will keep the paint from drying overnight and rendering your equipment unusable. The next day, simply remove the gear from cold storage 30 minutes prior to painting, and it'll be supple and ready for use. Properly wrapped paintbrushes and roller sleeves can be stored this manner for several days if you're tackling a really ambitious job.
